Sep 23, 2026
Carbon brushes are small components, but they play a huge role in the health of a commutator motor. At Jiangsu Hailing Carbon Products, we have spent more than two decades manufacturing precision carbon brushes for power tools, household appliances, automotive motors, and industrial machines. In our daily contact with motor builders and repair workshops, the question we hear most often is how to replace carbon brush sets without damaging the commutator or the new brush. This guide gives you a safe sequence from first signs of wear to final break-in.
Carbon brushes are designed to wear; they sacrifice themselves to protect the commutator. Because every motor runs under different current and vibration levels, there is no single mileage or hour figure for brush life. Instead, watch for these signs:
If you notice several of these symptoms, stop the motor and inspect it. Continuing to run with worn brushes can score the commutator, overheat the armature, and turn a simple repair into an expensive replacement. When you need to confirm the diagnosis, our article on how to know if carbon brushes need replacing describes the test process in more detail.
Before opening the motor, make sure the equipment is electrically isolated. Unplug the tool, remove the battery, or switch off the supply breaker. For hardwired motors, follow your plant or workshop lockout/tagout procedure. Lay the motor on a clean, well-lit bench with the brush caps facing upward.
| Tool | Typical Purpose |
|---|---|
| Insulated screwdrivers | Removing brush caps, covers, and terminal screws |
| Needle-nose pliers | Releasing pigtail terminals and positioning springs |
| Multimeter | Checking continuity and confirming no short circuit |
| Electrical contact cleaner | Removing oil, carbon dust, and grease from the commutator |
| Fine abrasive pad | Lightly correcting a polished or lightly grooved commutator |
Keep the replacement brushes clean and dry until you are ready to install them. Oily or dusty brush sets can cause poor contact and premature sparking.
The access design differs between motors, but the replacement workflow is the same. Go through the following steps carefully and keep every screw and clip organized.
If the motor still runs poorly after replacement, verify that the brush spring is not flat or bent, that the brush is not sticking in the holder, and that the commutator is genuinely clean.
A replacement brush must match more than length. The carbon grade, cross-section, pigtail orientation, terminal style, spring shape, and even the curvature of the contact face all affect motor performance. Using a visually similar brush is usually not enough.
If you are working from a used brush, keep it as a sample. For the full methodology, our carbon brush selection guide explains how to interpret grade codes, dimensions, and holder types. At Jiangsu Hailing, we use this same information every day to help customers match the correct brush for their motor.
Most power tools have external brush caps, which makes carbon brush replacement a fast job. After removing the cap, lift the spring, pull out the old brush, and push in the new one. Because universal motors run at high speed and high temperature, select a power-tool grade with good commutation stability. Check that the brush spring has not lost tension, and always clean the cap seat before closing it.
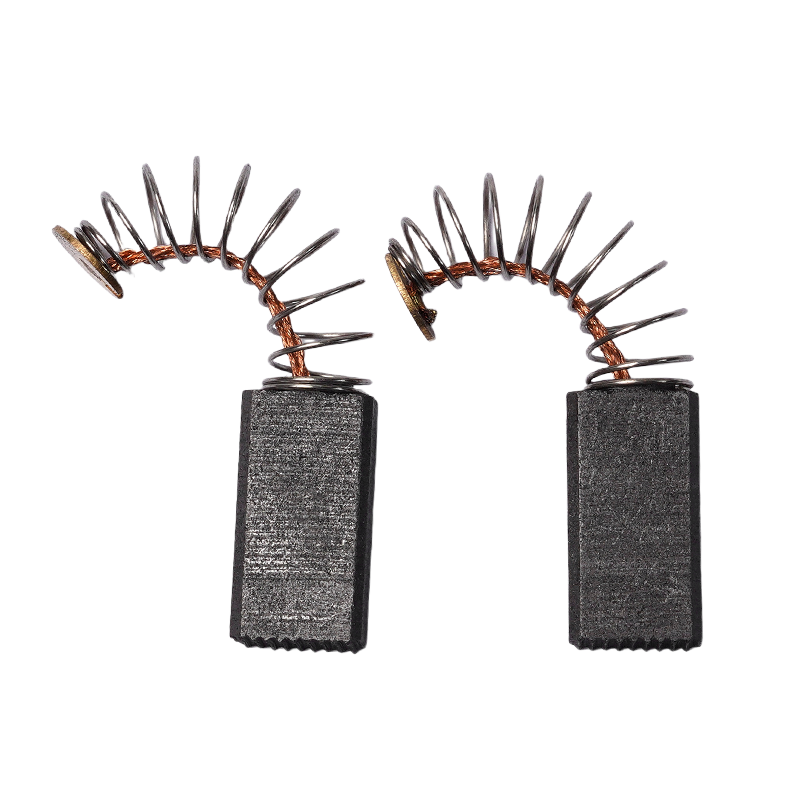 Universal Power Tool Carbon Brushes in Multiple SizesThis supplier offers a wide range of power-tool carbon brushes, from compact to larger grades. Given the article's focus on quick external-cap replacement, these brushes are ideal for fast swaps on high-speed universal motors.View Product →
Washing machine, vacuum cleaner, and treadmill motors often place the brush holder deeper inside the motor housing. You may need to dismantle the end panel, drive belt guard, or motor strap to reach it. In these appliance motors, the contact face must match the commutator radius closely. A flat or slightly mismatched brush will seat poorly and spark more during the first hours.
 Washing Machine Carbon Brushes with Spring or Holder OptionsThese brushes are suited for appliance motors where deeper access is required. With options including spring or holder assemblies, they support proper seating against the commutator for reliable drum rotation and reduced sparking.View Product →
Wiper motors, cooling fan motors, forklift motors, and similar applications face vibration and rapid load changes. Use a brush with sturdy terminal connections and a grade selected for the operating voltage and current. For industrial equipment such as wind turbine generators or air compressors, verify brush pressure after fitting and check brush temperature during the first few hours of operation.
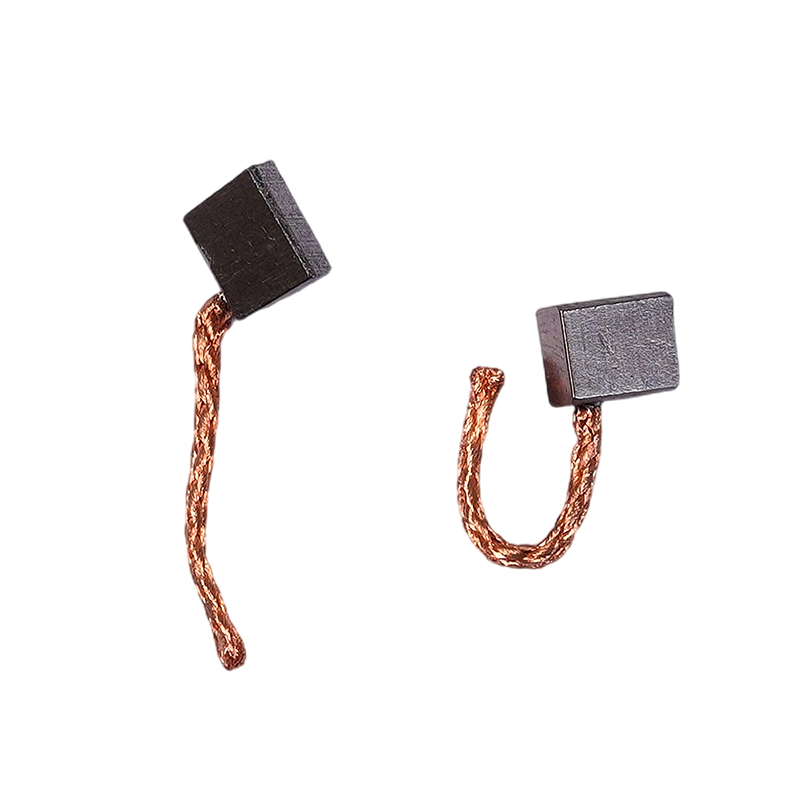 Automotive Wiper Motor Carbon Brushes with HolderDesigned for demanding conditions like vibration and load changes, these wiper motor brushes include a holder option. The sturdy construction helps maintain stable conductivity and supports proper break-in for long-lasting performance.View Product →
The job is not complete as soon as the brush holder is closed. New brushes need a short break-in period to seat against the commutator. Run the motor unloaded for one or two minutes, then stop and inspect. Wipe away any carbon dust that has formed on the brush caps. Check that the contact face of each new brush has a smooth, polished area covering its full width. If only one edge is wearing, the brush holder alignment may be wrong.
For the next few hours of normal use, listen for excessive sparking and monitor motor temperature. A properly replaced carbon brush set should run quietly, without visible sparks after a short warm-up, and deliver the same performance as the original. If symptoms return quickly, inspect the commutator for deeper damage instead of simply installing another set.

Phone:
+86-183 6280 9971
+86-513 8277 2222
Email:
 Custom Motor Carbon Brushes Manufacturers


 English
 中文简体
中文简体